
Relief printing
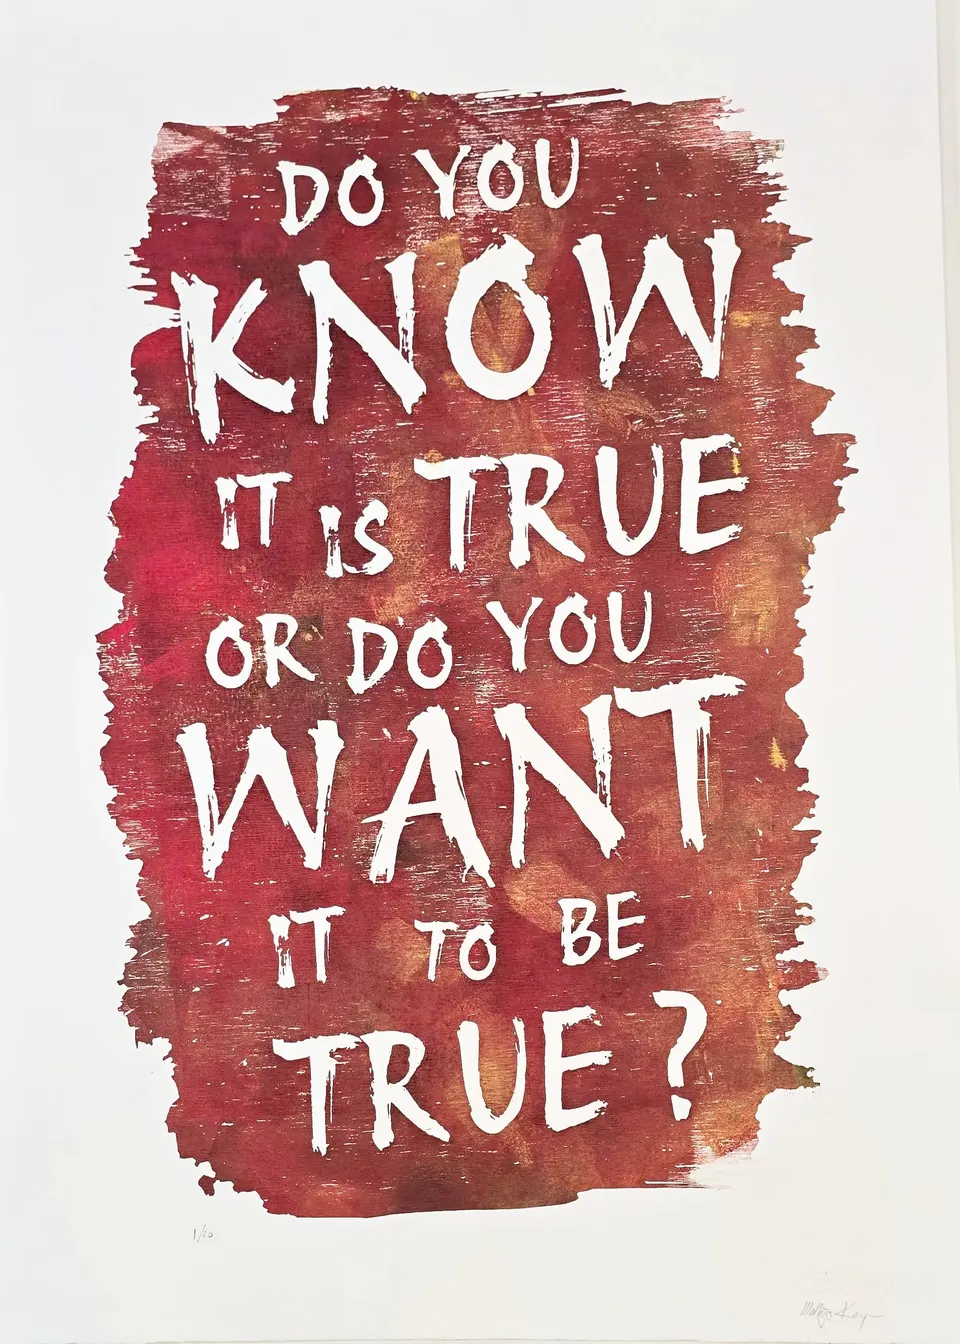
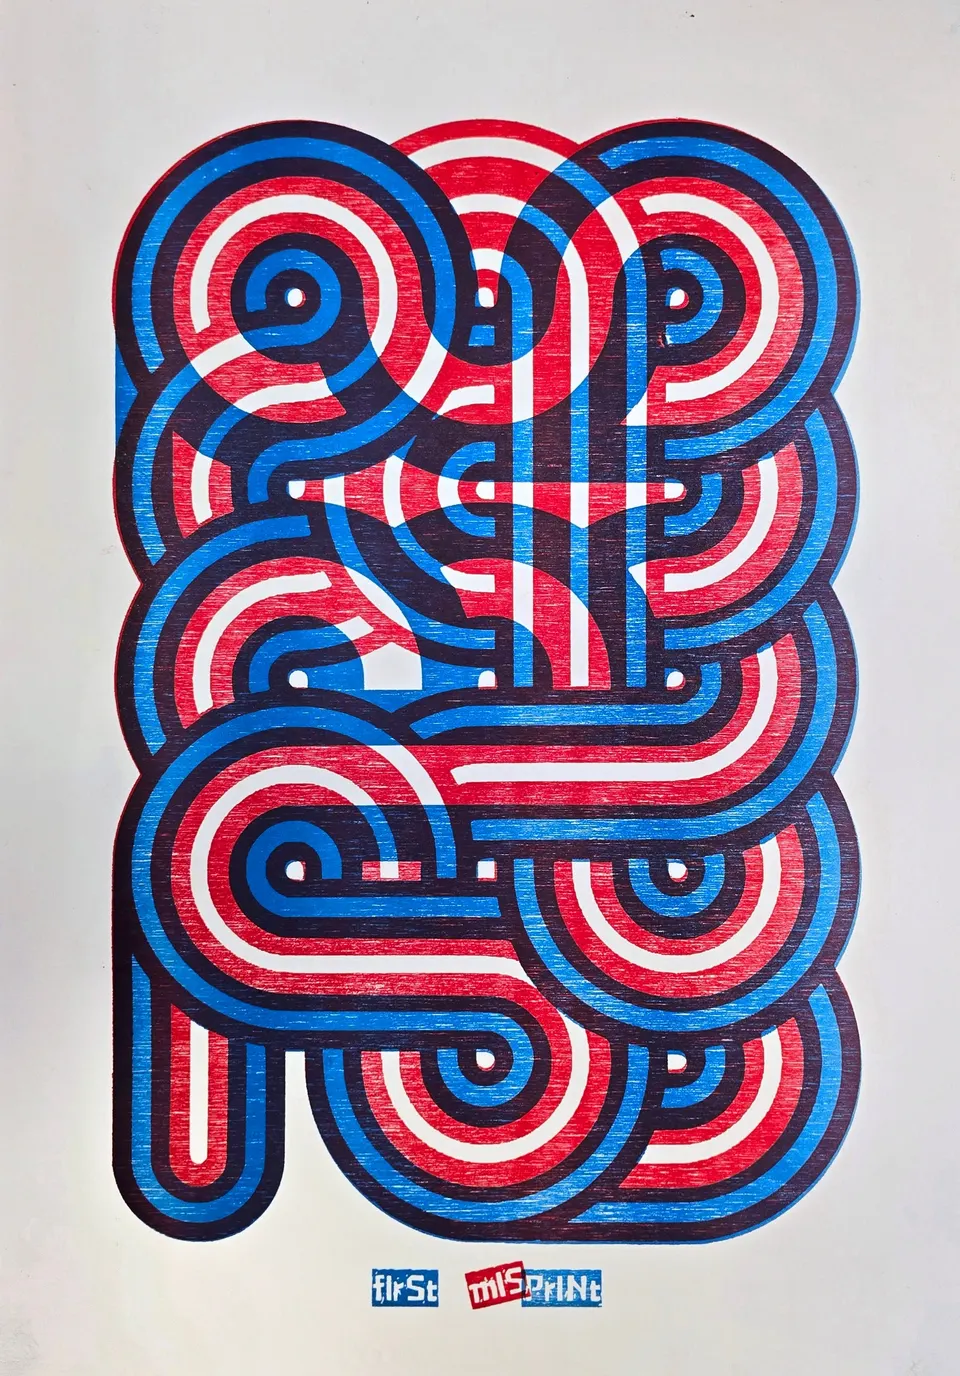
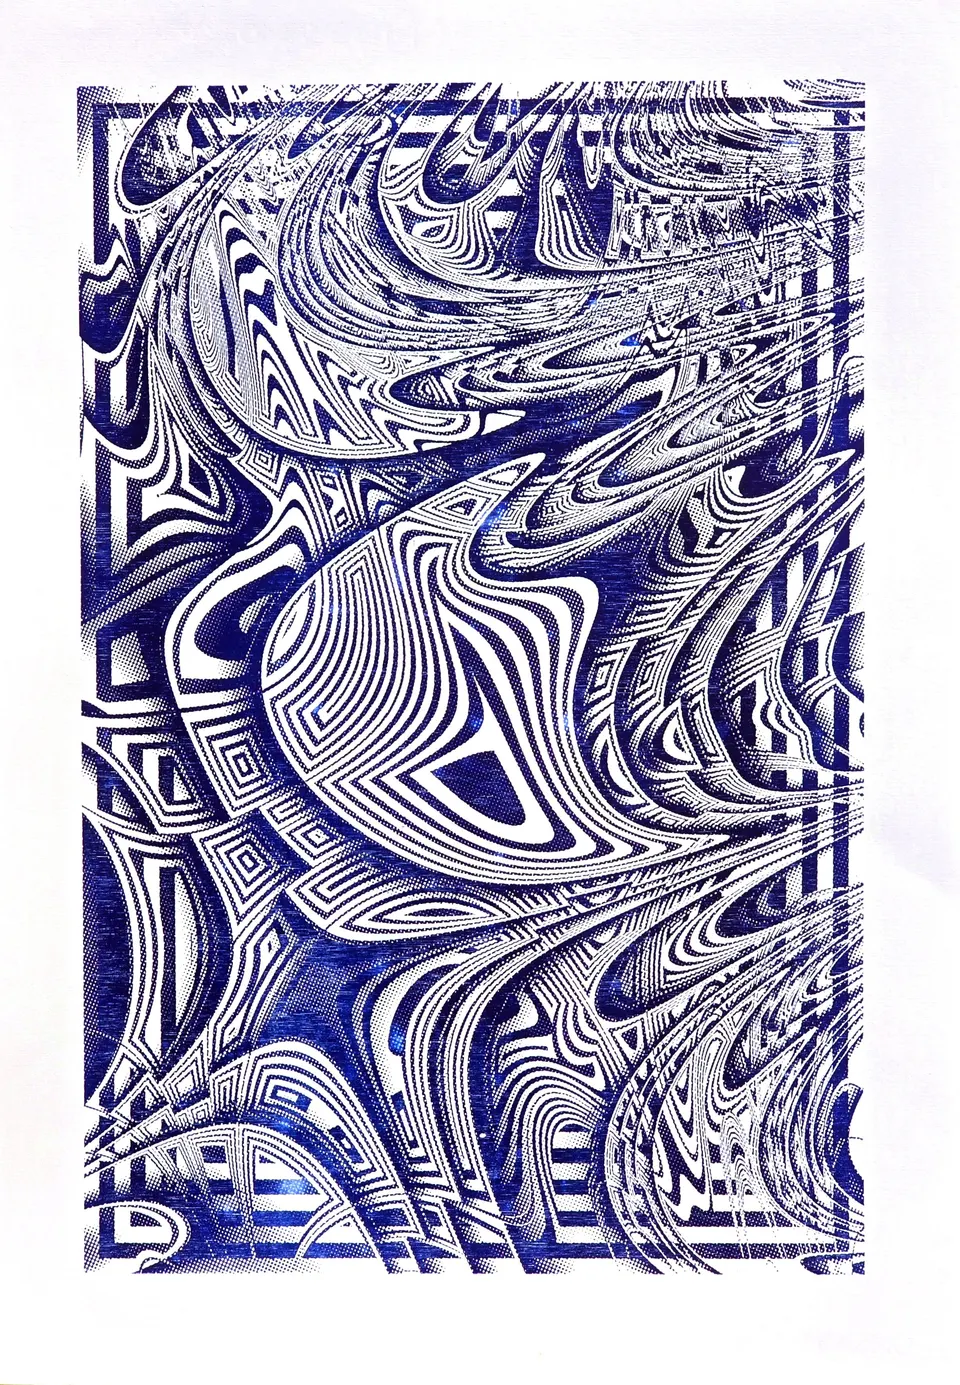
Most of my prints start as a digital design. Where the image has smooth gradients, I first convert them into halftone dots, as in old printing techniques.
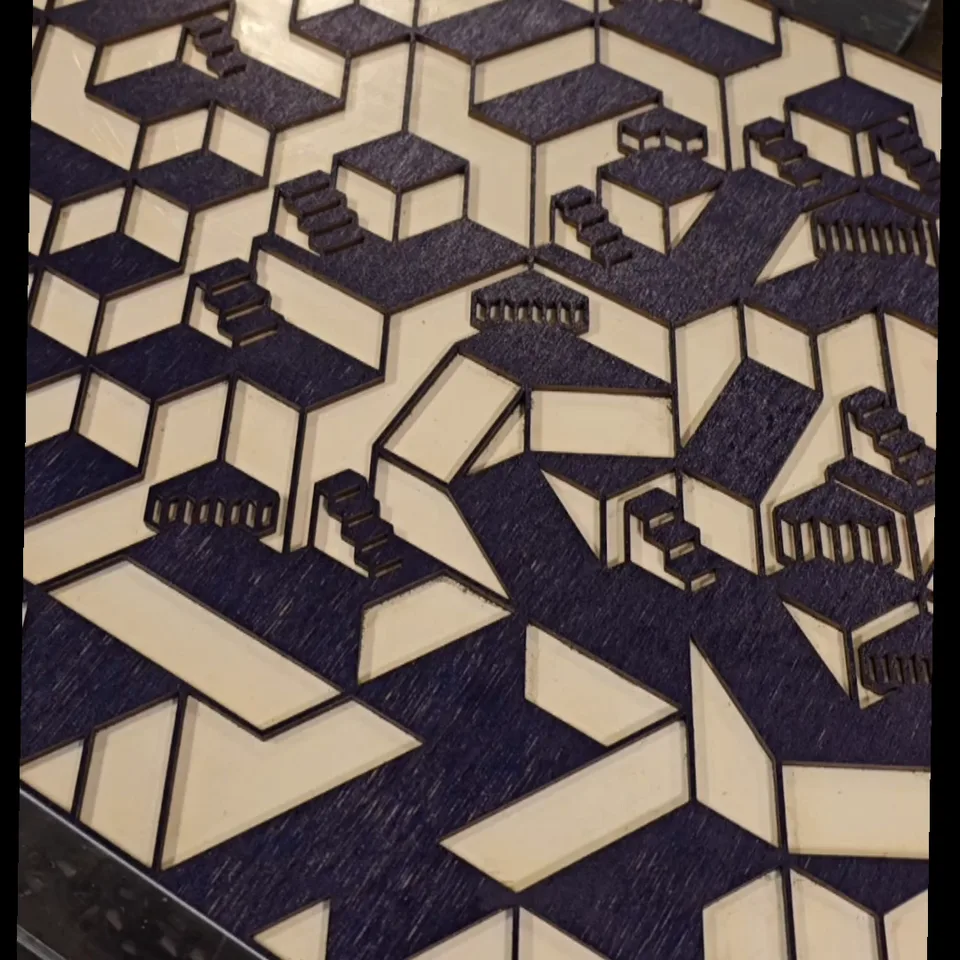
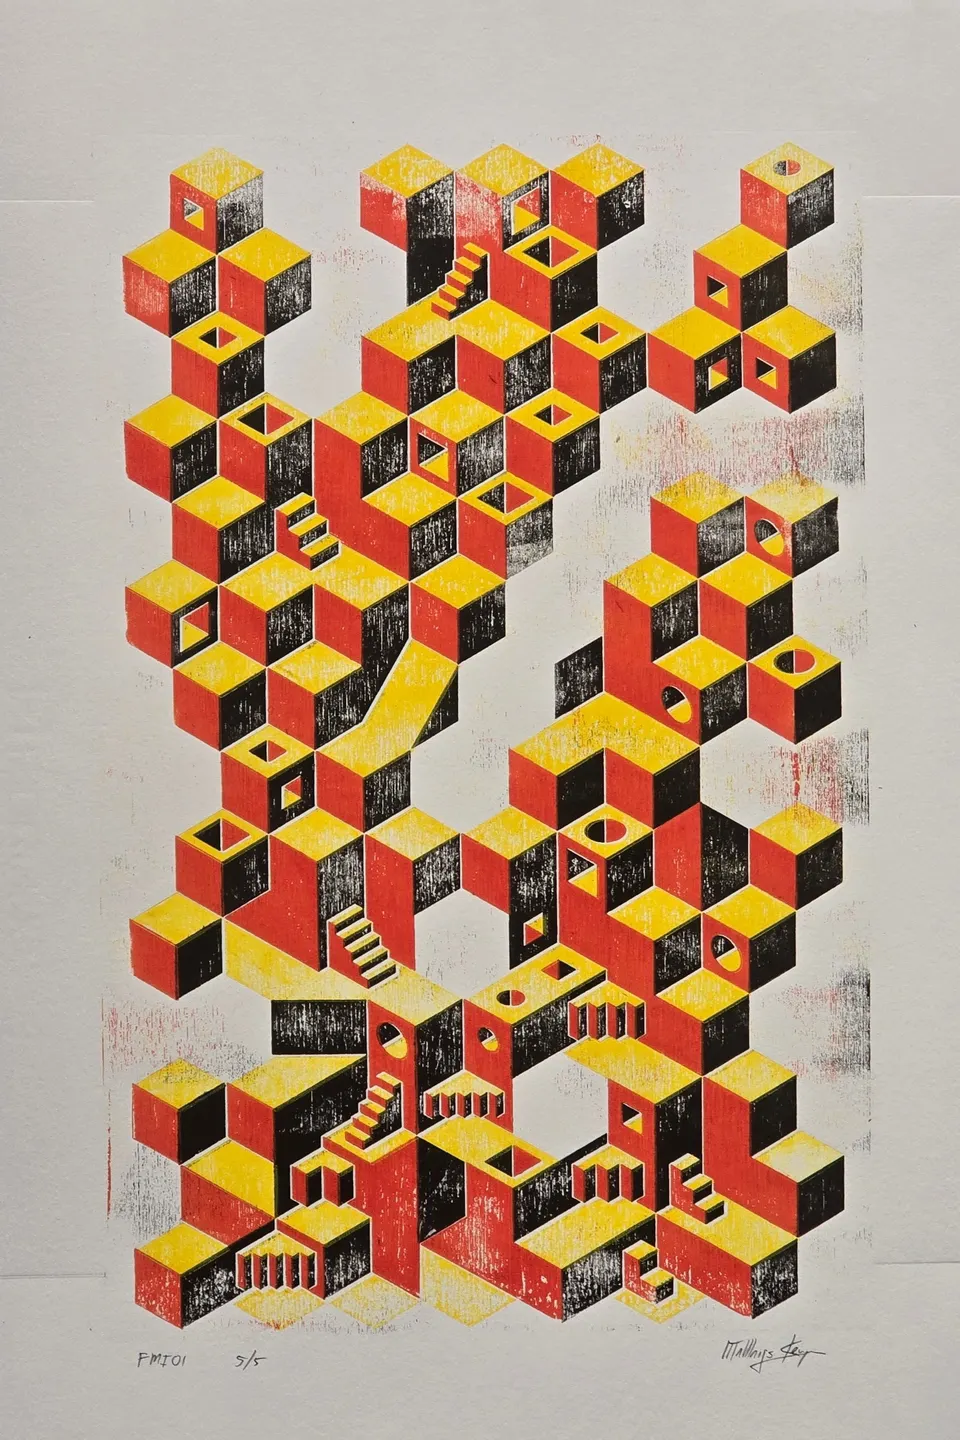
I engrave the design into birch plywood with my home-built laser cutter. The dark parts stay raised, the light parts are burned away. Then I treat the block with oil and sand it. The oil keeps the wood from soaking up ink unevenly. Sanding sharpens the relief and softens the burnt edges.
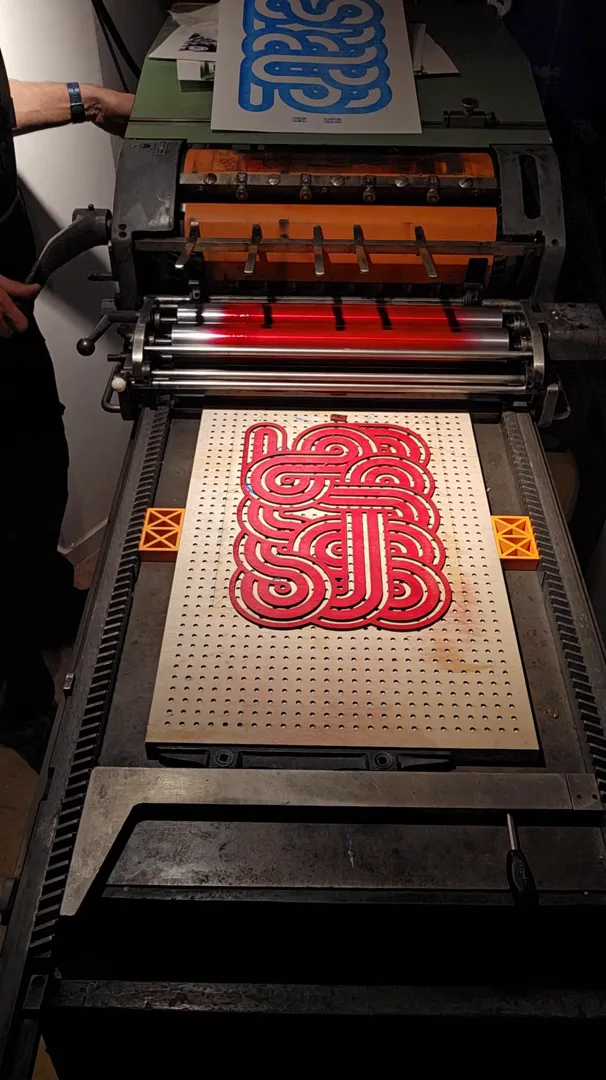
I ink the raised surface by hand with a roller. Sometimes I mix the colors directly on the block. The block goes face-up in the press, with a sheet of paper on top, and both are rolled through with firm, even pressure. At first I printed on a press I built myself. Later I bought a Korrex proof press from 1962. I print mostly on Fabriano Rosaspina paper.
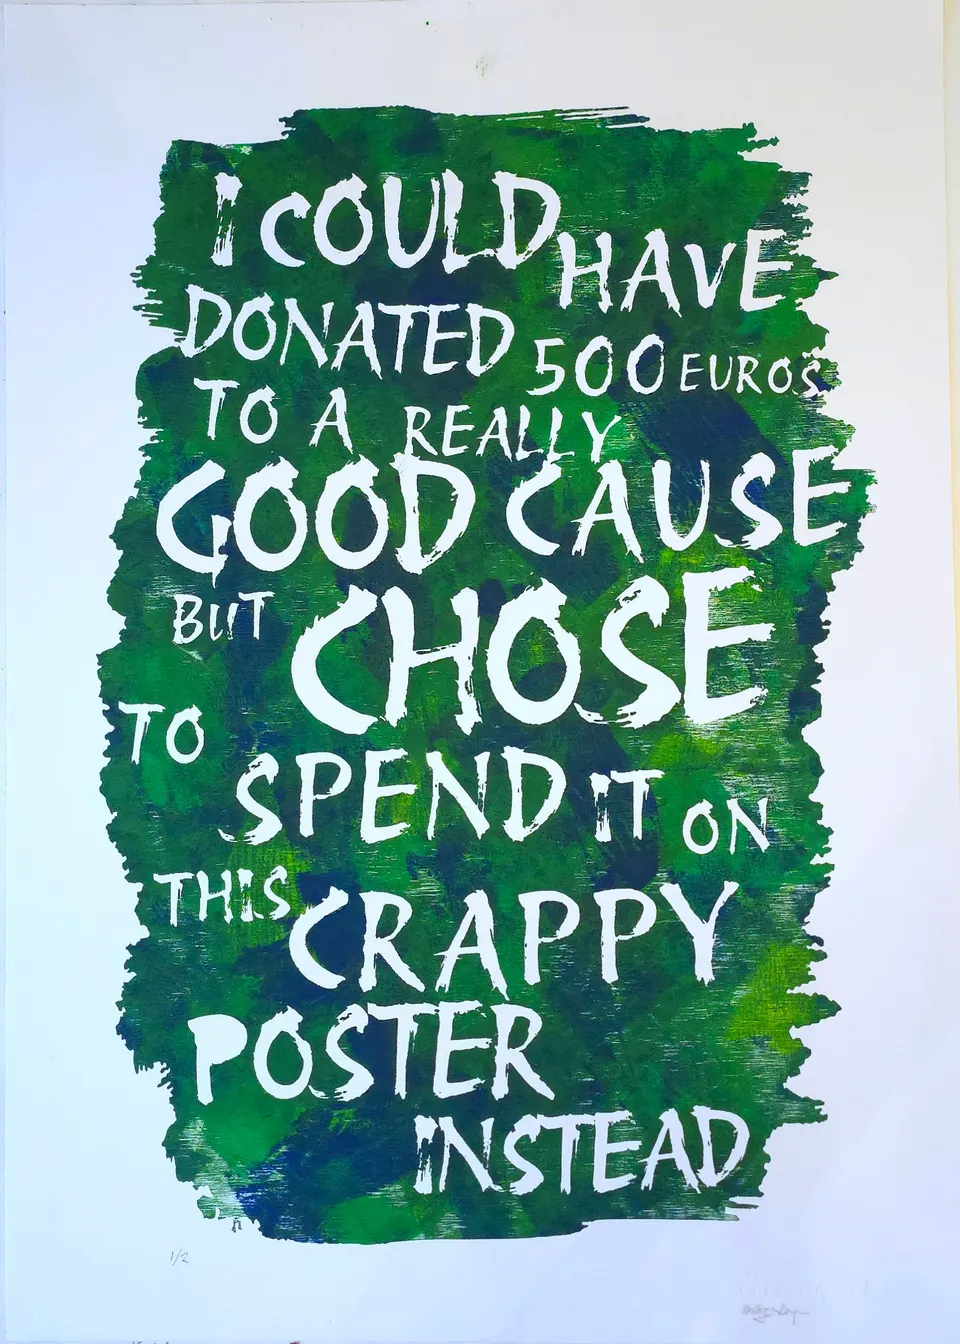
No two prints are the same. Inking, pressure and paper all vary a little. The block also wears: with every print it may gather small scratches or lose a fragment. I keep those marks. They are part of the process.